BACKGROUND:
Elsewhere, I wrote about a small Personal Survival Kit (PSK) I
assembled to supplement the gear I habitually carry every day. The
idea was that by leaving out the items I normally have on me anyway,
I could pack what else I might need into a smaller container.
It was a fun exercise, and led to a useful and convenient kit.

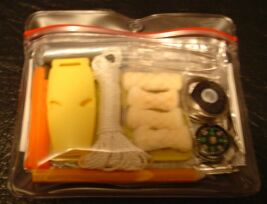
I wanted to make something similar for my girlfriend, but her needs are a bit different from my own, so her kit ended up being quite different as well. First, I like my kits sealed; I wanted hers to be open so she could remove the sharps for air travel. Second, I know what I put in my own kits; hers needed to be see-through so she could remind herself of what was in it.
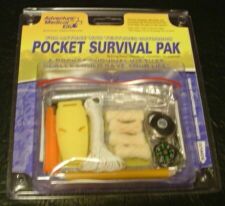
I felt that it would be good to start with an Adventure Medical Kits'
Pocket Survival Pak
(PSP), designed by Doug Ritter. (NOTE: If you're not
already familiar with this kit, it might be less confusing to read
about it in its unmodified form first, before reading about how I have
changed it. Just click the preceding link.) The sturdy,
resealable, transparent pouch would fit my desires and the Pak would
have more room in it for additions once the whistle & pencil were
removed. (She carries a whistle on her keychain and a space pen in
her pocket as part of her Every Day Carry (EDC). The purpose of this
kit is just to provide some extra items she doesn't normally carry.)
CONTENTS:
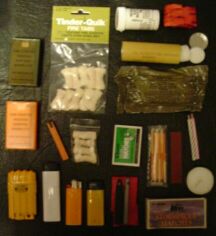
I wanted to add some sort of redundant fire-starting capabilities, so I considered all of the possibilities I had on hand and decided on a mini butane lighter and a half dozen REI brand Stormproof Matches. The lighter fits fairly well into the space vacated by the whistle; the matches (and strikers) are flat, and so don't take up too much space.
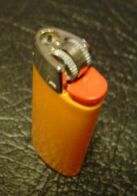
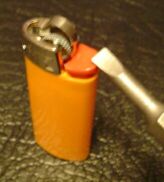
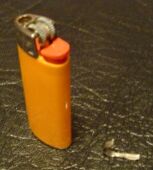
I understand the intended purpose of the annoying childproofing measures added to these lighters, but in a survival situation, where reduced dexterity brought on by fatigue, injury, dehydration, fear, cold, heat, disorientation, etc. can kill, I would suggest you use a pair of needlenose pliers to rip the little band off the steel wheel or otherwise disable whatever measures you find on yours. Here, I use a simple screwdriver:
|
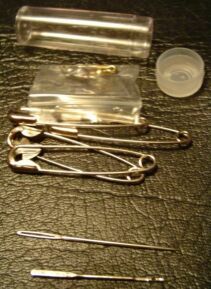
I felt a single sewing needle was not enough. They're small and useful and difficult for an amateur to make in any good quality, so I added two more to the one that's already in the Pak.
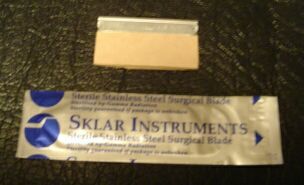
My girlfriend carries her knife at all times, but there's nothing
wrong with supplementing with a few extra cutting edges. The PSP already comes with a sterile
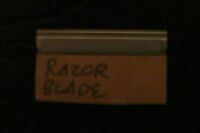
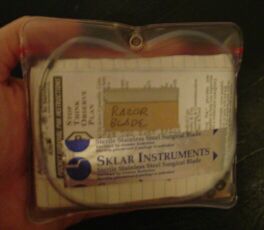
scalpel. I added a one-sided razor blade in its card-paper wrapping.
(I actually wrote "Razor Blade" on both sides of the wrapper, in case
someone else was opening the kit and didn't recognize the item.)
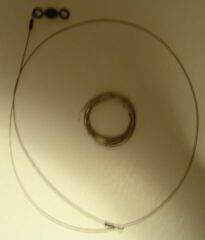
The PSP contains a coil
of stainless steel wire to fashion snares from, but most people don't
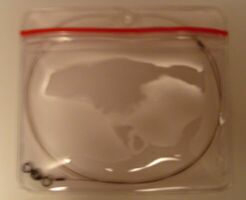
know how to make a snare. I added a nice professionally made one
from the World Survival
Institute. It can be used as a model for making more, albeit less
fancy ones. With snares, you can only expect a small success rate, so
you need to be able to make several if you want to get results (food!).
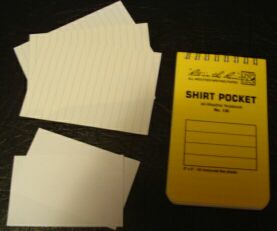 The Pak comes with a couple of sheets of waterproof paper. Yeah,
that's good, but why only two? It's paper; it's flat! Even as full
as I was planning on packing this kit, I figured I could afford a few
more sheets, ripped from a pad of such paper & trimmed to remove
the spiral chads.
A wooden golf-style pencil is included with the Pak, but she always keeps a space pen in her pocket. It wasn't until after I had packed it that I realized this. No big deal.
Doug has some suggestions regarding water procurement and purification, but nothing is actually provided in the Pak aside from some aluminum foil to fashion a container out of to boil water. I unfolded the foil and examinied it... it had many very tiny holes, all at the intersections of the folds. It would still function perfectly fine as a heat reflector on one side of a campfire, but it will not hold water for boiling.
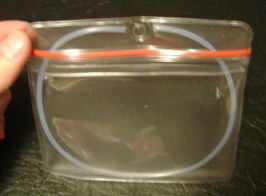
Before we can purify any water, we have to collect some. Two items that are useful for this are a piece of sponge and a length of flexible tubing such as aquarium or surgical tubing. With these simple devices, water can be collected from accumulation or runoff in cracks & crevices of rocks, in knuckles of trees and/or as dew off the ground or foliage. I added a dehydrated compressed sponge from a package I found in a craft store and a short piece of industrial teflon tubing.
As the water is collected, it can be stored in any nonpermeable container. I have included three, since the Pak has none aside from the unusable foil.
I did not believe condoms could be used as water storage devices, though I had read they could from many sources, until I tried it out for myself one day. They are fragile, but they expand easily and can hold a LOT of water.
Oven bags for automatically basting baked dished are quite sturdy and can hold LOTS of water. They come in varying sizes. The small ones are quite sufficiently large for these sorts of purposes.
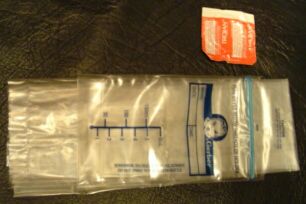
Lastly, breast milk storage bags are watertight & resealable and fold up quite small. I have conducted my own drop tests, and Gerbers' seems to have the toughest construction.
I included one of each of these containers. The oven bag was a
bit thick and accounts for much of the added bulk in the kit as
it now exists.
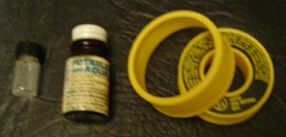
Once procured, the water must be purified. Since no reliable means of boiling is included in this kit, chemical purificaion is the next choice.
Doug recommends Katadyn Micropur MP1 water purification tablets. I didn't have any of those, so I went with what I had... WPC Brands' Potable Aqua tablets. I repack these, as Doug teaches, into small medical sample bottles; there's just no way I could fit the commercial bottle into the Pak.
Although the sample bottles have teflon linings inside the caps, I
wanted to add still more insurance that the iodine would not effect
any of the other contents, so, to insure the bottle stays airtight
over time, I put some teflon tape over the opening, where the cap will
squeeze them between the threads. Iodine is a reactive substance, and
glass & teflon are the only two materials it will not damage.
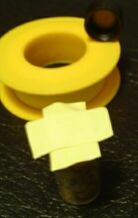
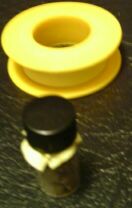
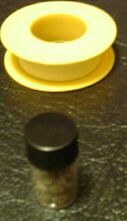
Frankly, I don't like the form factor of this tiny bottle for this kit. I usually do just fine with this in my own kits, but, after packing the kit, this bottle became the bulge at the thickest point of the package. The photos below may show better what I mean.
I intend to replace this with some of the tablets Doug recommends as
soon as I get some. They come wrapped in foil packets and are flat,
so they won't add so much bulge.
In the instructions included with the blister packaging that the
Pak comes in, Doug recommends a small LED flashlight be added to the kit. My girlfriend
and I each keep one on our keychaings, so I didn't need to add one
to this kit; she'll already have hers.
 |
 |
PACKING:
Whew! Okay, those are the contents. A couple of things taken out; a few items added. Here is the packaging.
The snare and the tubing went in first. Seeing as how each of these
items sought to spread themselves up higher than the ziplock, these
would go the the back as items were added in front of them.
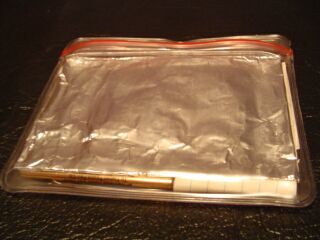
Next, I put in the written instructions & waterproof paper, followed by the aluminum foil. In addition to Doug's excellent contents summaries and survival instructions, I added some handwritten notes about the items I have added. I think this is where the fresnel lens went, also.
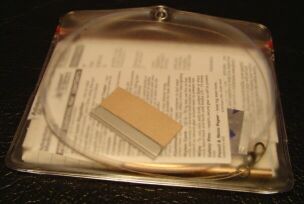
Then, I put the sharps in behind the other items. I wanted them
to be visible from the outside so my girlfriend could always easily
check to see if the airline unfriendly items were in the kit or not.
|
|
|
|
|
|
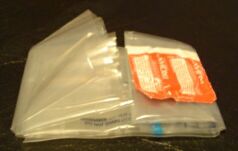
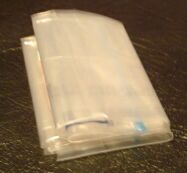
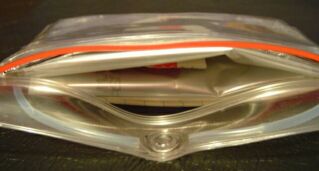
Next, I placed the breast milk bag on top of the folded up oven bag and folded them together before sandwiching the condom inside the final fold. This bundle went into the kit next, between the aluminum toward the front and the papers & written materials toward the back.
|
|
|
|
|
|
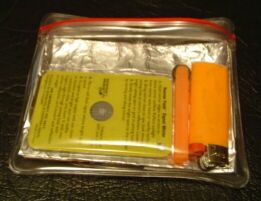
The aluminum foil created some solidity within the kit which was much easier to work with than the plastic bags were. I didn't want to accidentally put any creases or wrinkles into the oven bag as I placed (forcefully wedged!) any other items in on top of it, so it was nice to have them touching metal rather than plastic.
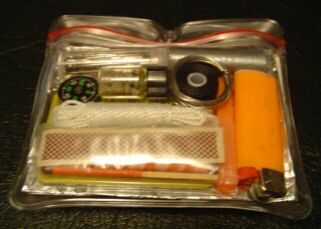
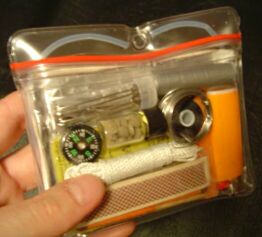
The mirror, Spark-Lite and lighter went in as the first items
of the frontmost layer. On top of them, I placed the matches (with
their strikers), nylon cord, compass, iodine tablets, nylon thread
& stainless steel wire. The fishing kit & needles and the
duct tape were put in last, above the rest of the items.
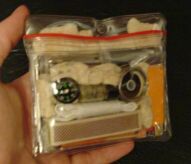
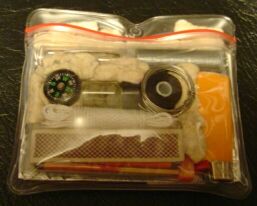
After fitting all the other items, materials & gear into the
pouch, I proceeded to stuff just about as much Tinder-Quik
waterproof tinder into all the nooks & crannies as I was able.
I don't remember how many I was able to fit in, but it was
far more than the four that originally came with the
PSP.
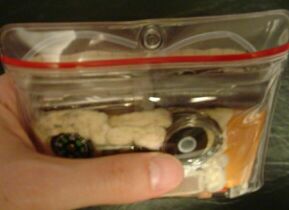
The trouble was, the pieces of tinder up in the very top of the pouch made it difficult to seal... something I definitely wanted to avoid. I want my girlfriend to feely dig into the kit any time she feels like it, and having to fight with the closure won't help in that regard.
So, I took out some of the tinder. That left, I believe, seven or eight pieces. Better than as bought, but not as many as I'd hoped. It also doesn't close quite as easily packed like this as it did when packed as it came. I think it's just too thick. I'm going to replace the iodine tablets with the ones Doug recommends. They're packed flat. If that doesn't make it seal more easily, I'll try replacing the oven bag with a second breast milk bag. That'll remove quite a bit of thickness.
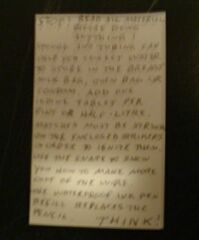
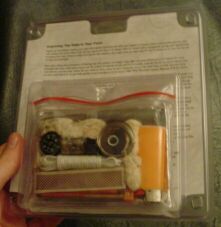
When I got my first PSP, I didn't realize there was anything written inside the brightly colored cardpaper promotional insert. Sure, it had "BONUS Lifesaving Instructions Inside" printed on the side, but I just thought it was referring to the contents & instructions enclosed within the pouch. I threw the card away with the blister pack it came in! That mistake of mine, plus the desire to make the kit look obviously different when I gave it to her as it had when I had bought it led me remove the card and reverse the direction of its fold, so the instructions showed from the outside.
This is how it looked when I gave it to her:
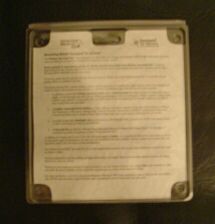
Now she has a PSK of her own to supplement what she always carries on her person anyway. The biggest problem I have with it is that the glass sample vial the iodine tablets are in becomes the widest part of the kit, and is right next to the outer wall, where it has no padding or protection. I don't want it to break. But I'm just going to replace it anyway, so I'm not going to worry about it until then.
All in all, I'm pleased. I feel confident this kit would serve my girlfriend well if she ever needed it, and she feels good knowing it passes my seal of approval & likes that I cared enough to make it for her.
UPDATED'oh! Reality check!
Just a few days after I gave this kit to my girlfriend, she flew on a business trip. I quickly realized the sharps weren't the only items not good for air travel.
I took out the iodine tablets, fishing/sewing kit and sharps. My girlfriend's idea was to just leave the sharps out, so she won't have to mess with having to remember to make the kit "air safe". I guess I'll leave the other stuff out too, for the same reason. There's no way to know how well fishing hooks and sewing needles will go over with the many gate officers she will encounter in her travels, even if regulations are technically on her side. Better not to muck with it.
(Actually, I had her take them out... and try herself to re-seal the kit. It gave her some trouble, so I took out the oven bag - the bulkiest item - and added a second breast milk bag. The thinner kit was much easier for her to re-close & she was much happier.)
That just leaves the Katadyn Micropur MP1 water purification tablets. Not being reactive with aluminum the way iodine is, they're safe for air travel. I really need to get some.
So, how'd it work out? When she flew, she was selected for a random security check of her bags. The officers didn't give a second thought to her kit. They looked it over and thought it was cool.
Heh, nice.